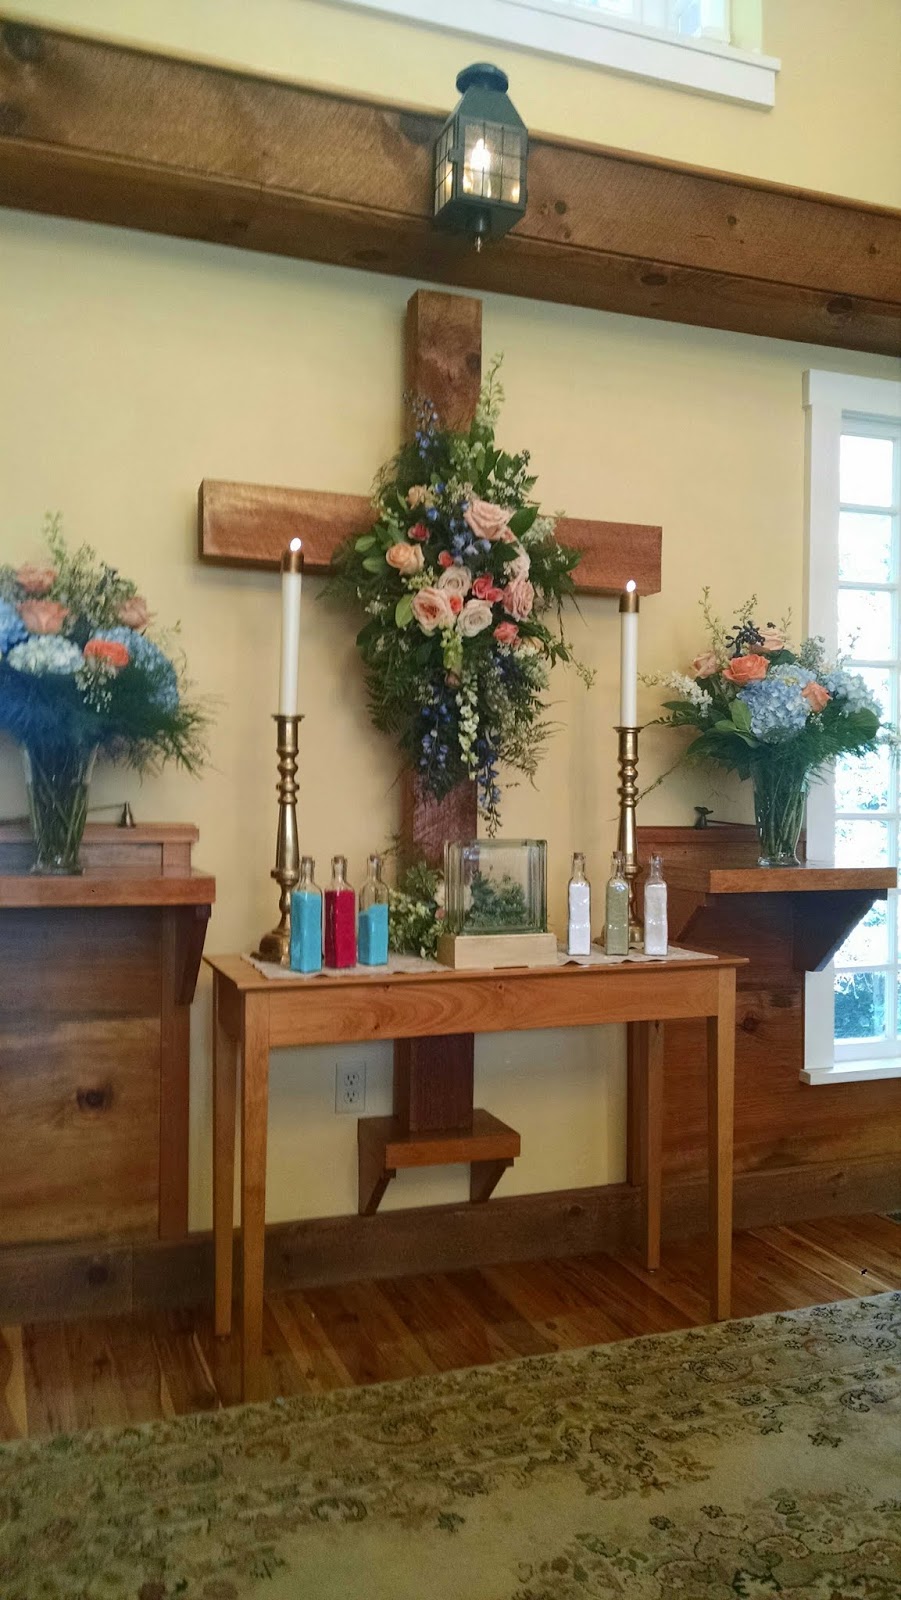
We are deep into apple picking season here in New England. I made this adorable card for my special college freshman (who also went recently apple picking with her new dorm-mates.) Thank you to My Scrap Chick for the adorable pattern. #week4
Tuesday, October 8, 2019
Monday, September 23, 2019
ONE SHARP KID
Hi again, Just want to share a quick card I made using a pattern from My Scrap Chick.
I am kinda disappointed with my inking, but I was bit in the hand last Saturday by a dog and so my movement is limited. Otherwise, it was mailed out and I am sure brought a smile to her face.
Saturday, September 21, 2019
COLLEGE DORM
Hi everyone. I am so sorry that I have been in lull. Actually, la-la-la as in Elmo's World, after all I do have a toddler now. I can't believe how much I DON'T get done in 24 hours with her in my life now.
Anyways, I want to share a card that I made a few weeks ago. My niece who is off to her first year in college, just got it yesterday so it is safe to post.
This is the front of the card. (She and her roommate got a fish that they named Beary.)
This is the inside of the card. So cute. I loved using this pattern set. Stay tuned for more amazing cards to come.
Sunday, March 17, 2019
ST. PATRICK'S DAY
Happy St. Patrick's Day everyone. I just wanted to share a quick project I did for my daughter's very first St. Pat...
This was my first time using an 'irish font'. I love it.
Here she is after her green and white cupcakes and (pretend) green milk. Hope everyone has a fun, safe, holiday.
Friday, March 1, 2019
SUNSHINE BOX
Hello everyone. I did a random act of kindness two days ago that I want to share with you all.
I have a friend who were in need of some 'sunshine'. So I went to my local Dollar Tree and Walmart to purchase some 'yellow' items.
There was some candy, chips, cookies, a stress ball, some rubber duckies etc. I put them in a cardboard box with some yellow tissue paper.
Then, I decorated the box with some pictures of suns. (I was able to find some great free sunshine printables on Pinterest.)
I included a personal note, traced our hands to put on top and mailed it out.
I sure hope it worked. :)
Tuesday, February 12, 2019
FELICIA'S BIRTHDAY UMBRELLA
Happy 18th Birthday to my niece Felicia.
She will be starting college in September so I thought I would get her an umbrella for her birthday.
I got this cute purple one at Walmart. Then, I tied pink curling ribbon on each of the 'stretcher' inside the umbrella.
I taped a crisp one dollar bill to each ribbons end. (Totally $18.) After all the dollars were in place, I closed up the umbrella like normally. I then wrapped it in cute birthday paper with more curling ribbon on the outside. I gave it to her and said 'Happy Birthday'. She opened it and said 'oh thank you'. I then explained how every college student needs an umbrella to go to class on those rainy days. She agreed and placed it down on the table. I said 'opening it up...it's not really bad luck'. She then picked it up, opened and was totally surprised to see 'it raining money'. haha.
Happy Birthday Felicia!!
Wednesday, January 9, 2019
CHRISTMAS MONEY
Hi everyone. I hope you all had a great holiday. I want to share with you a project I did for the wonderful teenagers I have in my life.
I hate to just give money and the 'kids' love when I do something creative with it. This is what I came up with.
As most of you know, I have a baby and A LOT of baby food jars around. So I cleaned some up, painted the lids and filled them with plain holiday M & M candies.
First, I had my husband help by drilling a hole in each of the caps.
Then, I wrapped clear packing tape around grilling skewers. I didn't want anyone to find a splinter in with the candy.
Then, I just folded the money into long strips.
Then, I used paddle wire to attach the money to the skewers.
Finally, I attached a star to the top of each one and wrote their name in the middle. I think they came out super cute and they were a huge hit. Two of them said 'I can't take that apart...It's too cute.' haha.
Saturday, November 24, 2018
BRIDAL SHOWER
I want to share a couple of quick projects I was asked to do. The first one is a bridal shower sash for a Beauty and The Beast themed shower.
I cut the lettering as well as the characters from blue glitter HTV.
Wednesday, November 21, 2018
MILK JUG SKELETON
Hello everyone. I just want to share a project I did last month before we move on to Thanksgiving.
This is a skeleton I made out of milk jugs. I have been making these for years now...so long that it was before computers.
I thought it might actually scare my daughter, but no ~ she LOVES him.
Thank you so much for looking.
Tuesday, November 20, 2018
CORA'S LEMONADE STAND
Good Morning. I am still trying to catch up on some recent projects that I have completed. As I look outside at the snow already on the ground, I look at these pictures and it seems so long ago. When in reality it was less than 3 months ago.
I have been taking daily photos of my baby and this day I went with the 'lemonade' theme. I LOVE how it all came out. The base of the stand is actually two wooden crates just placed side by side. I then 'hot glued' the sign board to two wooden dowels. I just stuck the wooden dowels inside the slots of the crates. So simple.
I did cut the lettering from vinyl. The '5 cent' sign just out of a folded piece of paper and marker. I wanted it to look like a child's handwriting. I love how great this came out. I can't wait to do many more 'stands' such as pumpkins, hot cocoa, Christmas trees, kissing booth etc.
Wednesday, November 14, 2018
ANOTHER METAL MAILBOX FACELIFT
Hi once again. I have redone that metal mailbox again. This time my brother and his new bride used it for their recent wedding.
Two of the wedding colors was this cobalt blue and off white.
Since it was an outside garden wedding I put this beautiful flower on the side in vinyl but everything else was hand painted. I love how great it came out.
Here is a photo of the mailbox on display at the wedding. Congratulations to the happy bride and groom. I wish you both a lifetime of happiness.
ANOTHER BABY THANK YOU CARD
Hello everyone. I am sharing another 'baby thank you' card that I made for an amazing gift that we recently received. A huge thank you to Dreaming Tree for the 'freebie' pattern. I love how this came out. So blessed to have such amazing friends.
Thank you so much for looking.
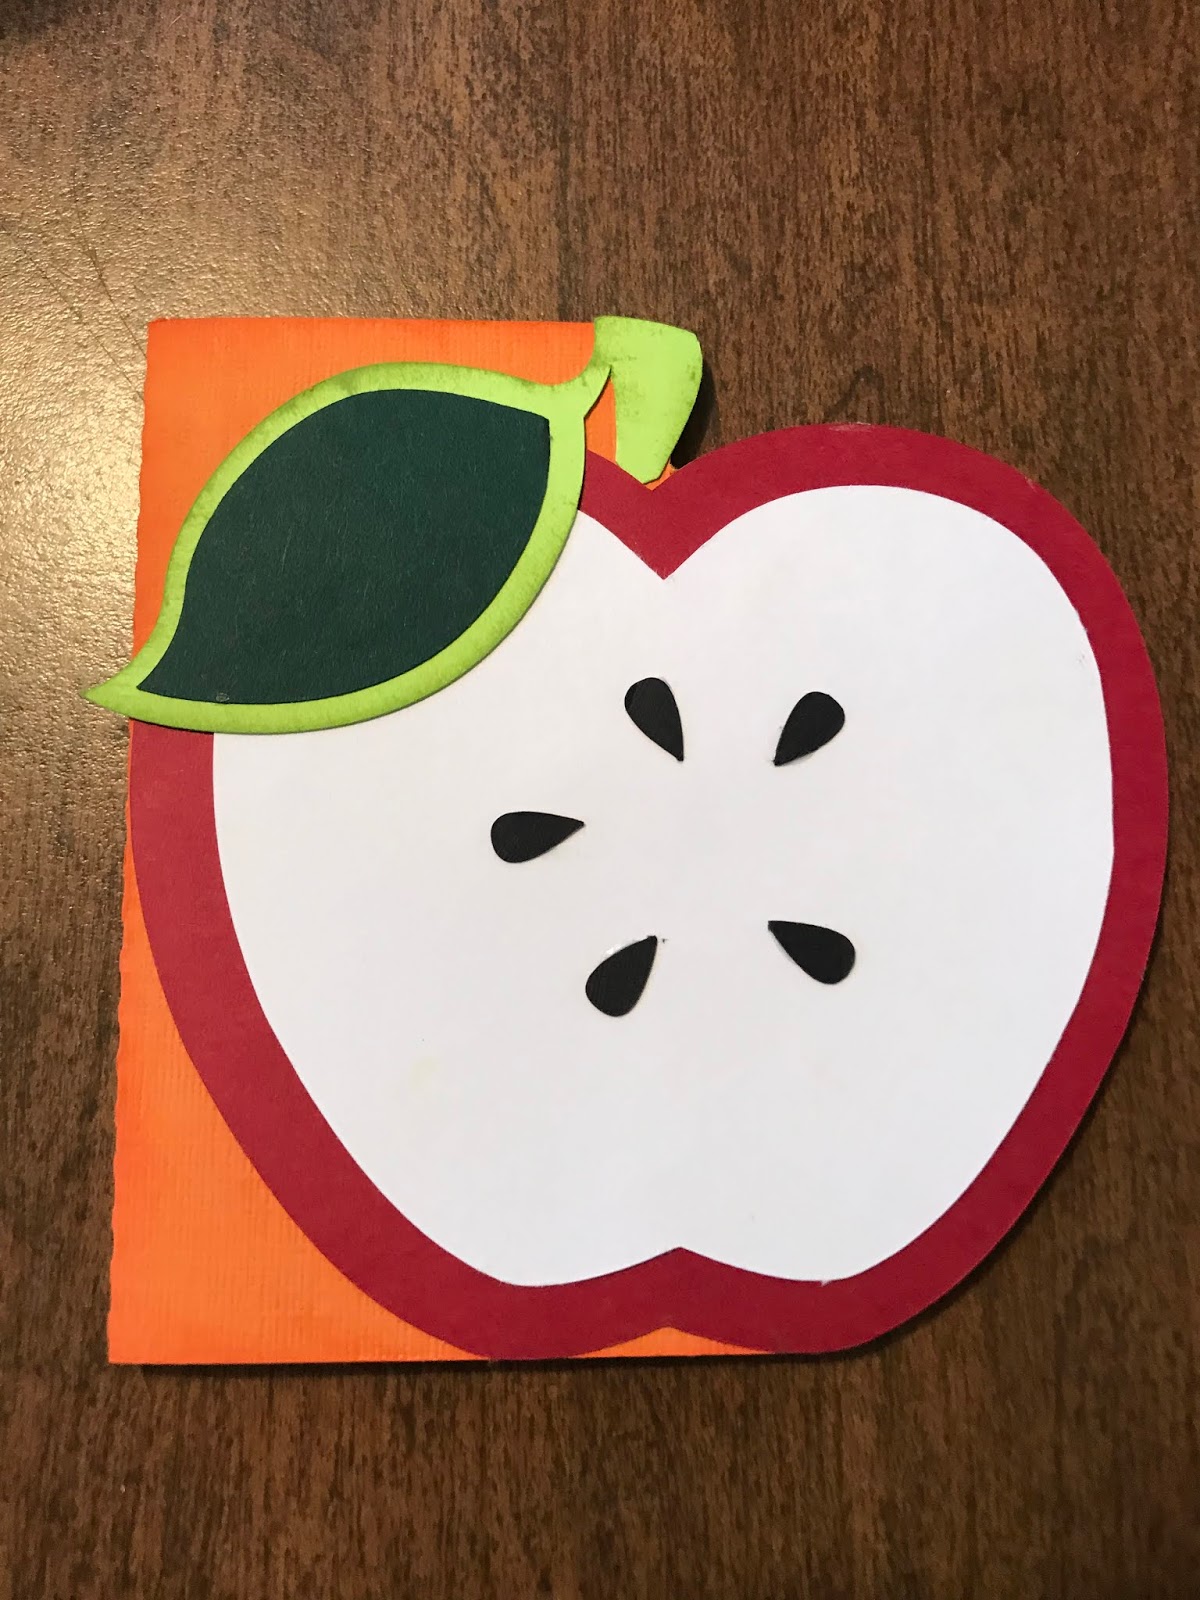
UNITY SAND CEREMONY
Hi everyone. I wanted to share a project I made for my brother's recent wedding. As part of the special day, they did a 'unity sand ceremony' to signify the blending of two beautiful families. First I cut the vinyl on my machine for both the glass block as well as all the individual jars.
Next I applied the etching cream to the glass.
It is tough to see on this photo without it filled with sand, but I love how it came out.
Here is a photo of the completed individual jars. Before the ceremony, they were filled with the color of sand that matches their birthstone.
Here are some great photos I took during the ceremony. I wish I had a better angle to show each family member filling the main glass block.
Subscribe to:
Posts (Atom)