I usually start out with a 12x6.5 piece of cardstock because this size works great with most of the paper piece pattern set that I use. I have done smaller cards, but really like this size the best.
Holding the card stock horizontally, you will want to score at 2 inches, 4 inches, 8 inches and 10 inches. If you do not have a Scor-pal, Martha Stewart score board or other scoring means, you can always do it the old fashion way by drawing a line and folding at each of these marks.This is way your card stock will look like once scored and folding.
Next, place your card stock vertically. You are now going to score the long way at the 1.5 inch mark. YOU WILL ONLY WANT TO DO THIS BETWEEN THE FIRST FOLD AND LAST FOLD ~ between the arrows. The card will look more professional if done this way. but if accidentally you do it the whole length of the paper, it is not a big deal.
Once this is done, turn the card stock and do the other side at the same 1.5 inch mark. Now you will have one on each side. Now cut along those lines, REMEMBER TO ONLY CUT BETWEEN THE FIRST FOLD AND LAST FOLD.
This is what the card will look like from above.
Now, to get the 'cool' looking fold to this card you will want to do a 'mountain' - 'valley' fold on the top and bottom thirds. This is how the card will look when laying flat.
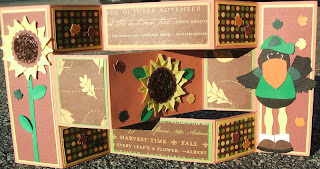
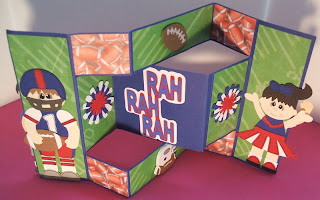
This is what the card will look like from above when finished. This is the base of a tri-shutter card. Then you can embellish it as you wish. Here are some examples of cards I have done in the past...


No comments:
Post a Comment